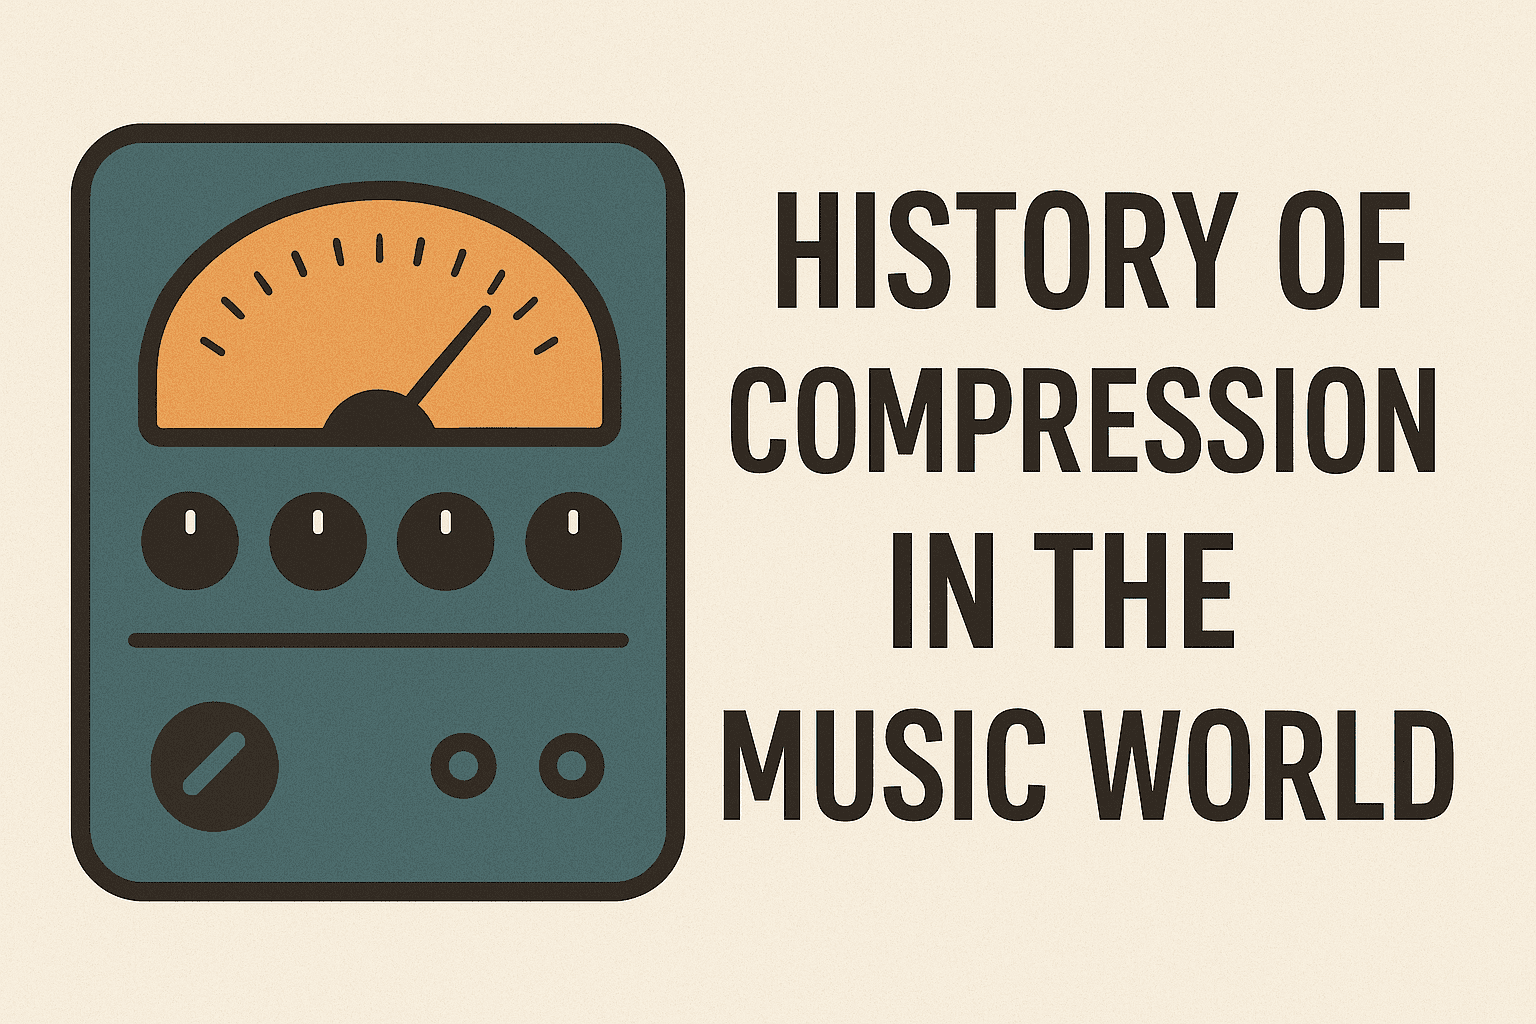
Origins of Audio Compression
1930s: Early Experiments
- Engineers at radio stations created the first compressors to prevent signal overload and distortion during broadcasts.
- Early devices included variable-mu tubes, such as the Western Electric 110 compressor.
- 1940s–1950s: Commercialization
- Companies like RCA and Fairchild began producing commercial compressor/limiters for studios and broadcast applications.
- The iconic Fairchild 660/670 tube compressor, introduced in the 1950s, became a studio standard for its smooth sound.
The Studio Era and the Rise of Pop Music
1960s: Tape and Mixing Innovations
- Compression enabled greater control and clarity in multitrack mixes.
- The Universal Audio 1176 (1967) became a staple for vocals and drums.
- The Motown sound was shaped by heavy use of compression on drums.
The Digital Revolution
1990s: Digital Compressors and Plug-ins
- Digital Audio Workstations (DAWs) made digital compression a standard tool in music production.
- Plug-ins began emulating classic hardware units.
- The “loudness wars” era saw heavy limiting to maximize track loudness—sometimes at the expense of dynamics.
Impact on Music
Makes vocals and instruments sit better in a mix.
- Adds punch, sustain, and energy to drums and guitars.
- Prevents overload and distortion in broadcast and digital formats.
- Used creatively for distinctive effects (like sidechain and pumping).
Key Moments and Innovations
Invention of the variable-mu tube compressor (1930s)
- Introduction of the Fairchild 660/670 (1950s)
- Advent of solid-state compressors (1960s–70s)
- Digital plug-in era makes compre
Here are five tips for adding compression to your mix
1. Understand the “Why” Before the “How”
Before you even touch a compressor, ask yourself: What am I trying to achieve with this compression? Are you trying to:
- Control dynamics? (e.g., make a vocal more consistent in volume)
- Add punch or impact? (e.g., make drums hit harder)
- Increase sustain? (e.g., make a bass guitar note ring out longer)
- Glue elements together? (e.g., make a drum bus sound more cohesive)
- Add character or color? (e.g., using a specific vintage compressor emulation)
Knowing your goal will guide your settings and help you avoid aimless tweaking.
2. Start with Subtle Settings and Listen Critically
It’s easy to over-compress, which can suck the life out of your audio. Begin with gentle settings and gradually increase them until you hear the desired effect.
- Low Ratio (e.g., 2:1 to 4:1): Good for general dynamic control and subtle thickening.
- Medium Attack: Allows transients (the initial punch) to pass through before the compression kicks in, preserving impact.
- Medium Release: Lets the sound breathe naturally without pumping or squashing.
Always use your ears! Don’t just look at the gain reduction meter. Listen for:
- Pumping: Does the volume seem to swell and recede unnaturally?
- Loss of Transients: Does the sound lose its initial attack or punch?
- Dullness: Does the sound become lifeless or flat?
If you hear these, you’ve likely gone too far.
3. Use Attack and Release to Shape Transients and Sustain
These two parameters are your most powerful tools for shaping the sound.
- Attack Time:
- Fast Attack: Catches transients quickly, making the sound smoother and potentially reducing initial punch. Useful for taming harsh peaks or making a vocal sit back.
- Slow Attack: Lets transients pass through before compression engages, preserving or even enhancing the initial punch. Great for drums or making a bass feel more aggressive.
- Release Time:
- Fast Release: The compressor quickly returns to its uncompressed state. Can add energy and excitement, but too fast can lead to pumping or distortion.
- Slow Release: The compressor holds the gain reduction longer. Can create a smoother, more sustained sound, but too slow can make the sound feel squashed or reduce overall loudness.
Experiment with these to control the “envelope” of your sound – how it starts, sustains, and decays.
4. Parallel Compression (New York Compression) for Punch and Density
This is a fantastic technique for adding density and impact without completely crushing your dynamics.
- How it works: You send your original, uncompressed signal to an auxiliary track. On that aux track, you apply heavy compression (often with a fast attack and release, and a high ratio). Then, you blend this heavily compressed signal back in with your original, uncompressed signal.
- Benefits: You get the punch and sustain of the compressed signal, but you retain the natural dynamics and transients of the original. It’s particularly effective on drums, vocals, and even entire mixes.
5. Compression is Not Just for Loudness – It’s for Tone and Feel
While compression does help manage volume, its true power lies in its ability to shape the tone, character, and feel of an instrument or mix. Different compressors have different sonic signatures:
- VCA Compressors (e.g., SSL, DBX 160): Often clean, fast, and good for punch and control.
- FET Compressors (e.g., 1176): Fast, aggressive, and can add a desirable “mojo” or grit. Great for drums and vocals.
- Optical Compressors (e.g., LA-2A): Slower, smoother, and more transparent. Excellent for vocals and bass, adding warmth and gentle leveling.
- Vari-Mu Compressors (e.g., Fairchild 670): Smooth, warm, and often used for bus compression or mastering.
Don’t just reach for the same compressor every time. Learn the characteristics of different types and choose the one that best suits the sound you’re working on and the desired effect.
Mastering compression takes time and practice, but by focusing on these tips, you’ll be well on your way to using it like a pro!